The lamp took a lot longer than I expected. There was a snag nearly every step of the way. The first part was easy. I painted the agitator a pretty dark blue, with the Krylon spray paint that's made for plastic. Just looking at it while was drying, I realized the well inside it was deeper than I had thought. If I just put the lamp parts in like I originally planned, the bulb was going to sit too low.
 |
| inside the agitator |
So, I decided to cut a piece of cardboard that would fit inside the rim of the agitator and rest the bulb on that. I cut the cardboard, painted it and let it dry.
 |
| cardboard circle |
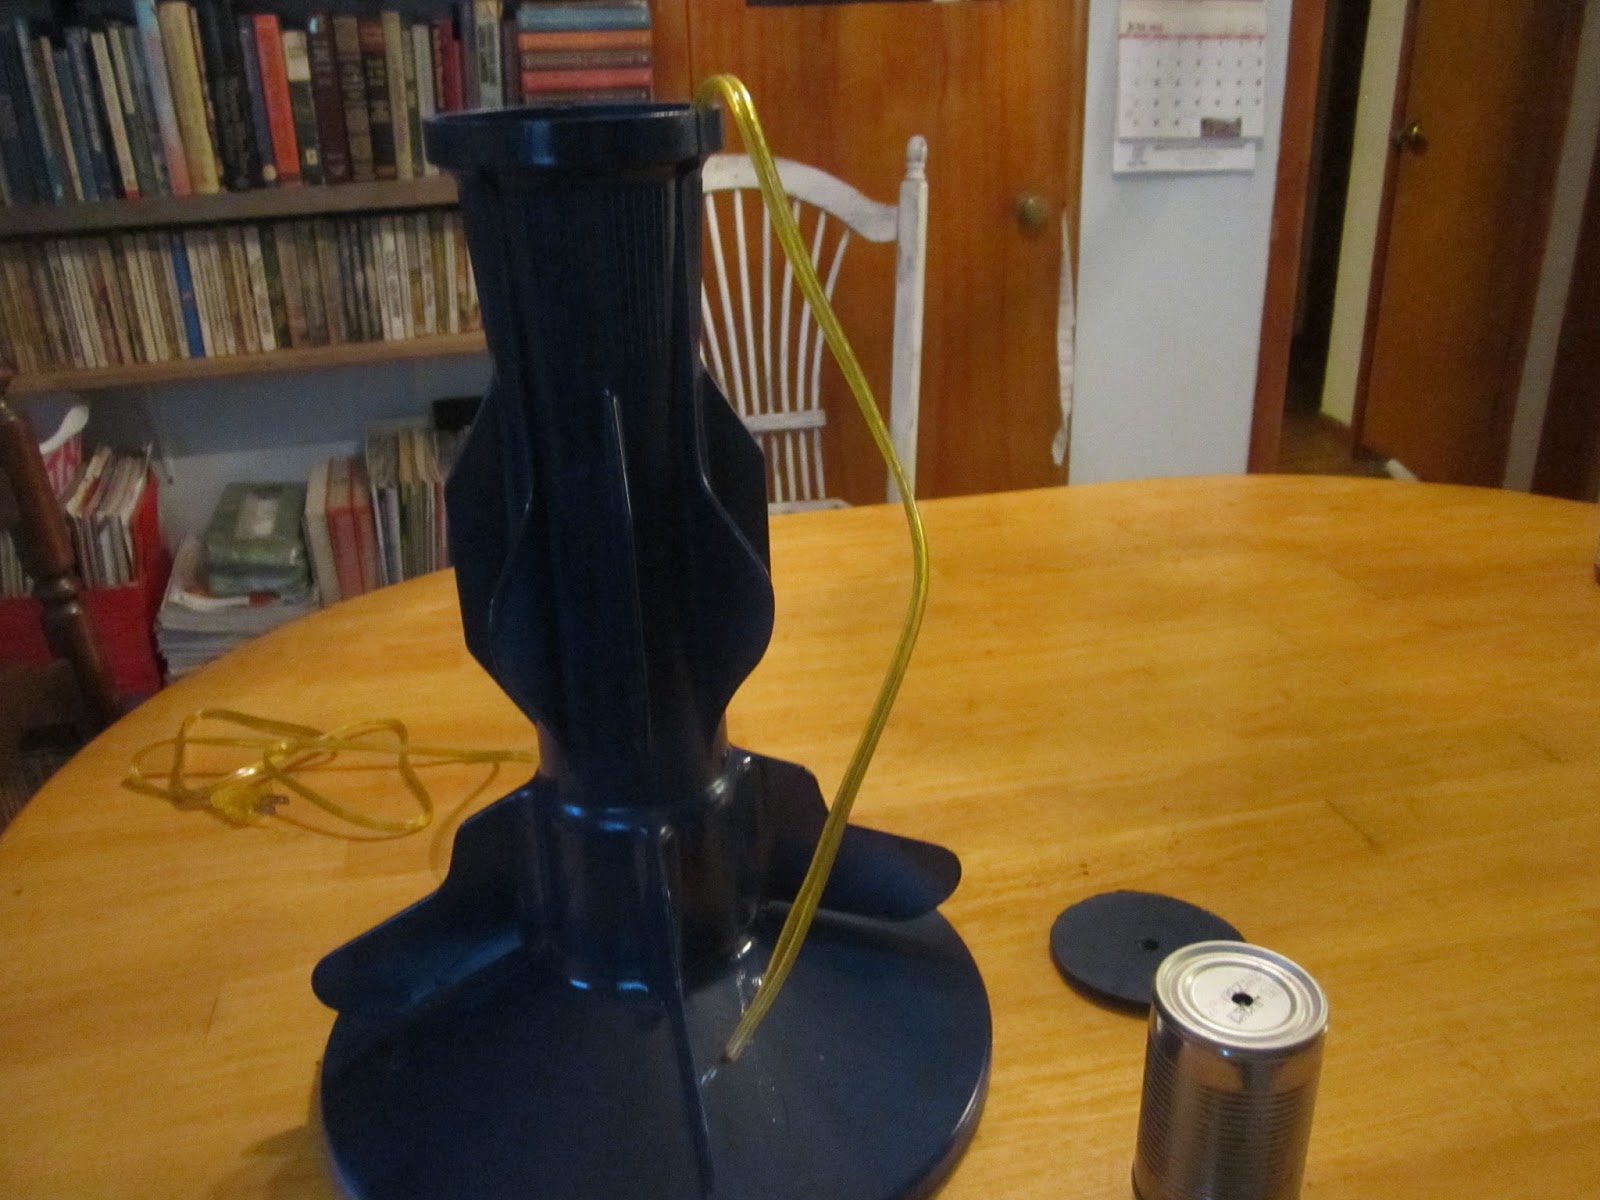
I was ready to put in the lamp parts. That consisted of running the power cord up through the bottom of the agitator and attaching it to the base for the bulb. First I just ran it up through the cardboard, and then realized it wasn't sturdy enough the support the bulb base, bulb and shade holder. It was going to need more support. Finallly, I settled on a soup can. I drilled a hole in it, and we were back in business.

Well, not quite. You see there was this nut, nipple and cap that needed to screw together and attach to the shade support. Because there wasn't a normal lamp base, I needed to run it though the cardboard. Only problem was that there wasn't enough threads left on the nipple to attach the shade support. I needed something thinner. I found a plastic coffee can lid and cut it down to the right size. Still wouldn't work. I summoned Ed for his advice. After taking it all apart again, he said that the nipple wasn't big enough for what it was supposed to do, even without the cardboard or plastic. We needed a longer nipple.
 |
| nut, cap and shrimpy nipple |
 |
| threading it through |
 |
| looking good |
 |
| uh oh |
 |
| plastic circle |
After a trip to the hardware store, we came back with what we needed. Finallly success. I asked Ed to wire in the bulb holder. He did and then we attached the top of the shade support. The whole thing fell over. It was too heavy for the plastic lid, so we glued the lid down and put some clear stones on top (Katherine calls them dragon tears). Ok. I think we got it.
 |
| success! |
Now for the shade.
Here is where we truly make do with what we have.
When I was painting the agitator, I was thinking about what to do for a shade, and saw a small metal trash can that Katherine used to have in her room. It was purple, but a coat of blue spray paint solved that problem. The next problem was that it was really too small for the lamp. It needed to be wider. So I cut it around the bottom third of the can. Then I flattened it out. Ok. there is the top of shade. Now what?
 |
| cut out bottom and sides |
I needed some support for the outside rim, so I had Ed cut a wire hanger and help me bend it.
I wrapped the outer wires around the hanger.
Then I cut off the top rim of the trash can, cut the remaining wire down the side and stretched it out.
Then using my trusty zip ties, I attached the center wires to the hanger. Now the shade was wide enough but it was still too short.
I remembered that I had a roll of wire that is normally used for parade floats. The wire is attached to a frame and flowers or whatever is being used is attached to the wire. I think I may have got it when I went to the Goodwill outlet store last summer, but I don't remember for sure. Anyway, I cut some of it, and put it inside the circle of trash can wire. I didn't even need zip ties; the wires jsut kind of held each other. I did use zip ties to reattach the top rim of the trashcan.
Ok, now I have a lamp shade frame. How am I going to cover it? I don't even know how I got the idea, and only time will tell if it's a good one. I have a bunch of t-shirts that someday, I plan to turn into a quilt. Ed and I both had this particular shirt, and both wore them out. Since I will have one for the quilt, and the color matched so well, I decided to cut the other one up, and use it to cover the lamp frame. It was done with needle and thread and a lot of under my breath muttering, but here it is.
 |
| Full frame with t-shirt piece sewn on top. |
 |
| Finsihed shade |
 |
finished lamp
|
What do you think?
Connie


No comments:
Post a Comment